Bird recording basics
With your phone or professional equipment and some good practices, you can record valuable bird songs that will be archived in the Macaulay Library and in eBird.
1️⃣ Start with what you have
Recording sounds does not require previous experience or expensive equipment. With your smartphone and some good practices, you can record valuable songs—even high-quality ones. Listen to the following recording of the Pheasant Cuckoo (Dromococcyx phasianellus) made with a phone.
2️⃣ Use the correct format
Whenever possible, choose .WAV. It’s an uncompressed format that preserves all sound details, unlike MP3 or M4A.
- Quality: as high as possible (ideal 48 kHz, 24 bit).
- Channels: mono (most phones don’t record true stereo).
- AGC (automatic gain control): turn it off to keep manual control.
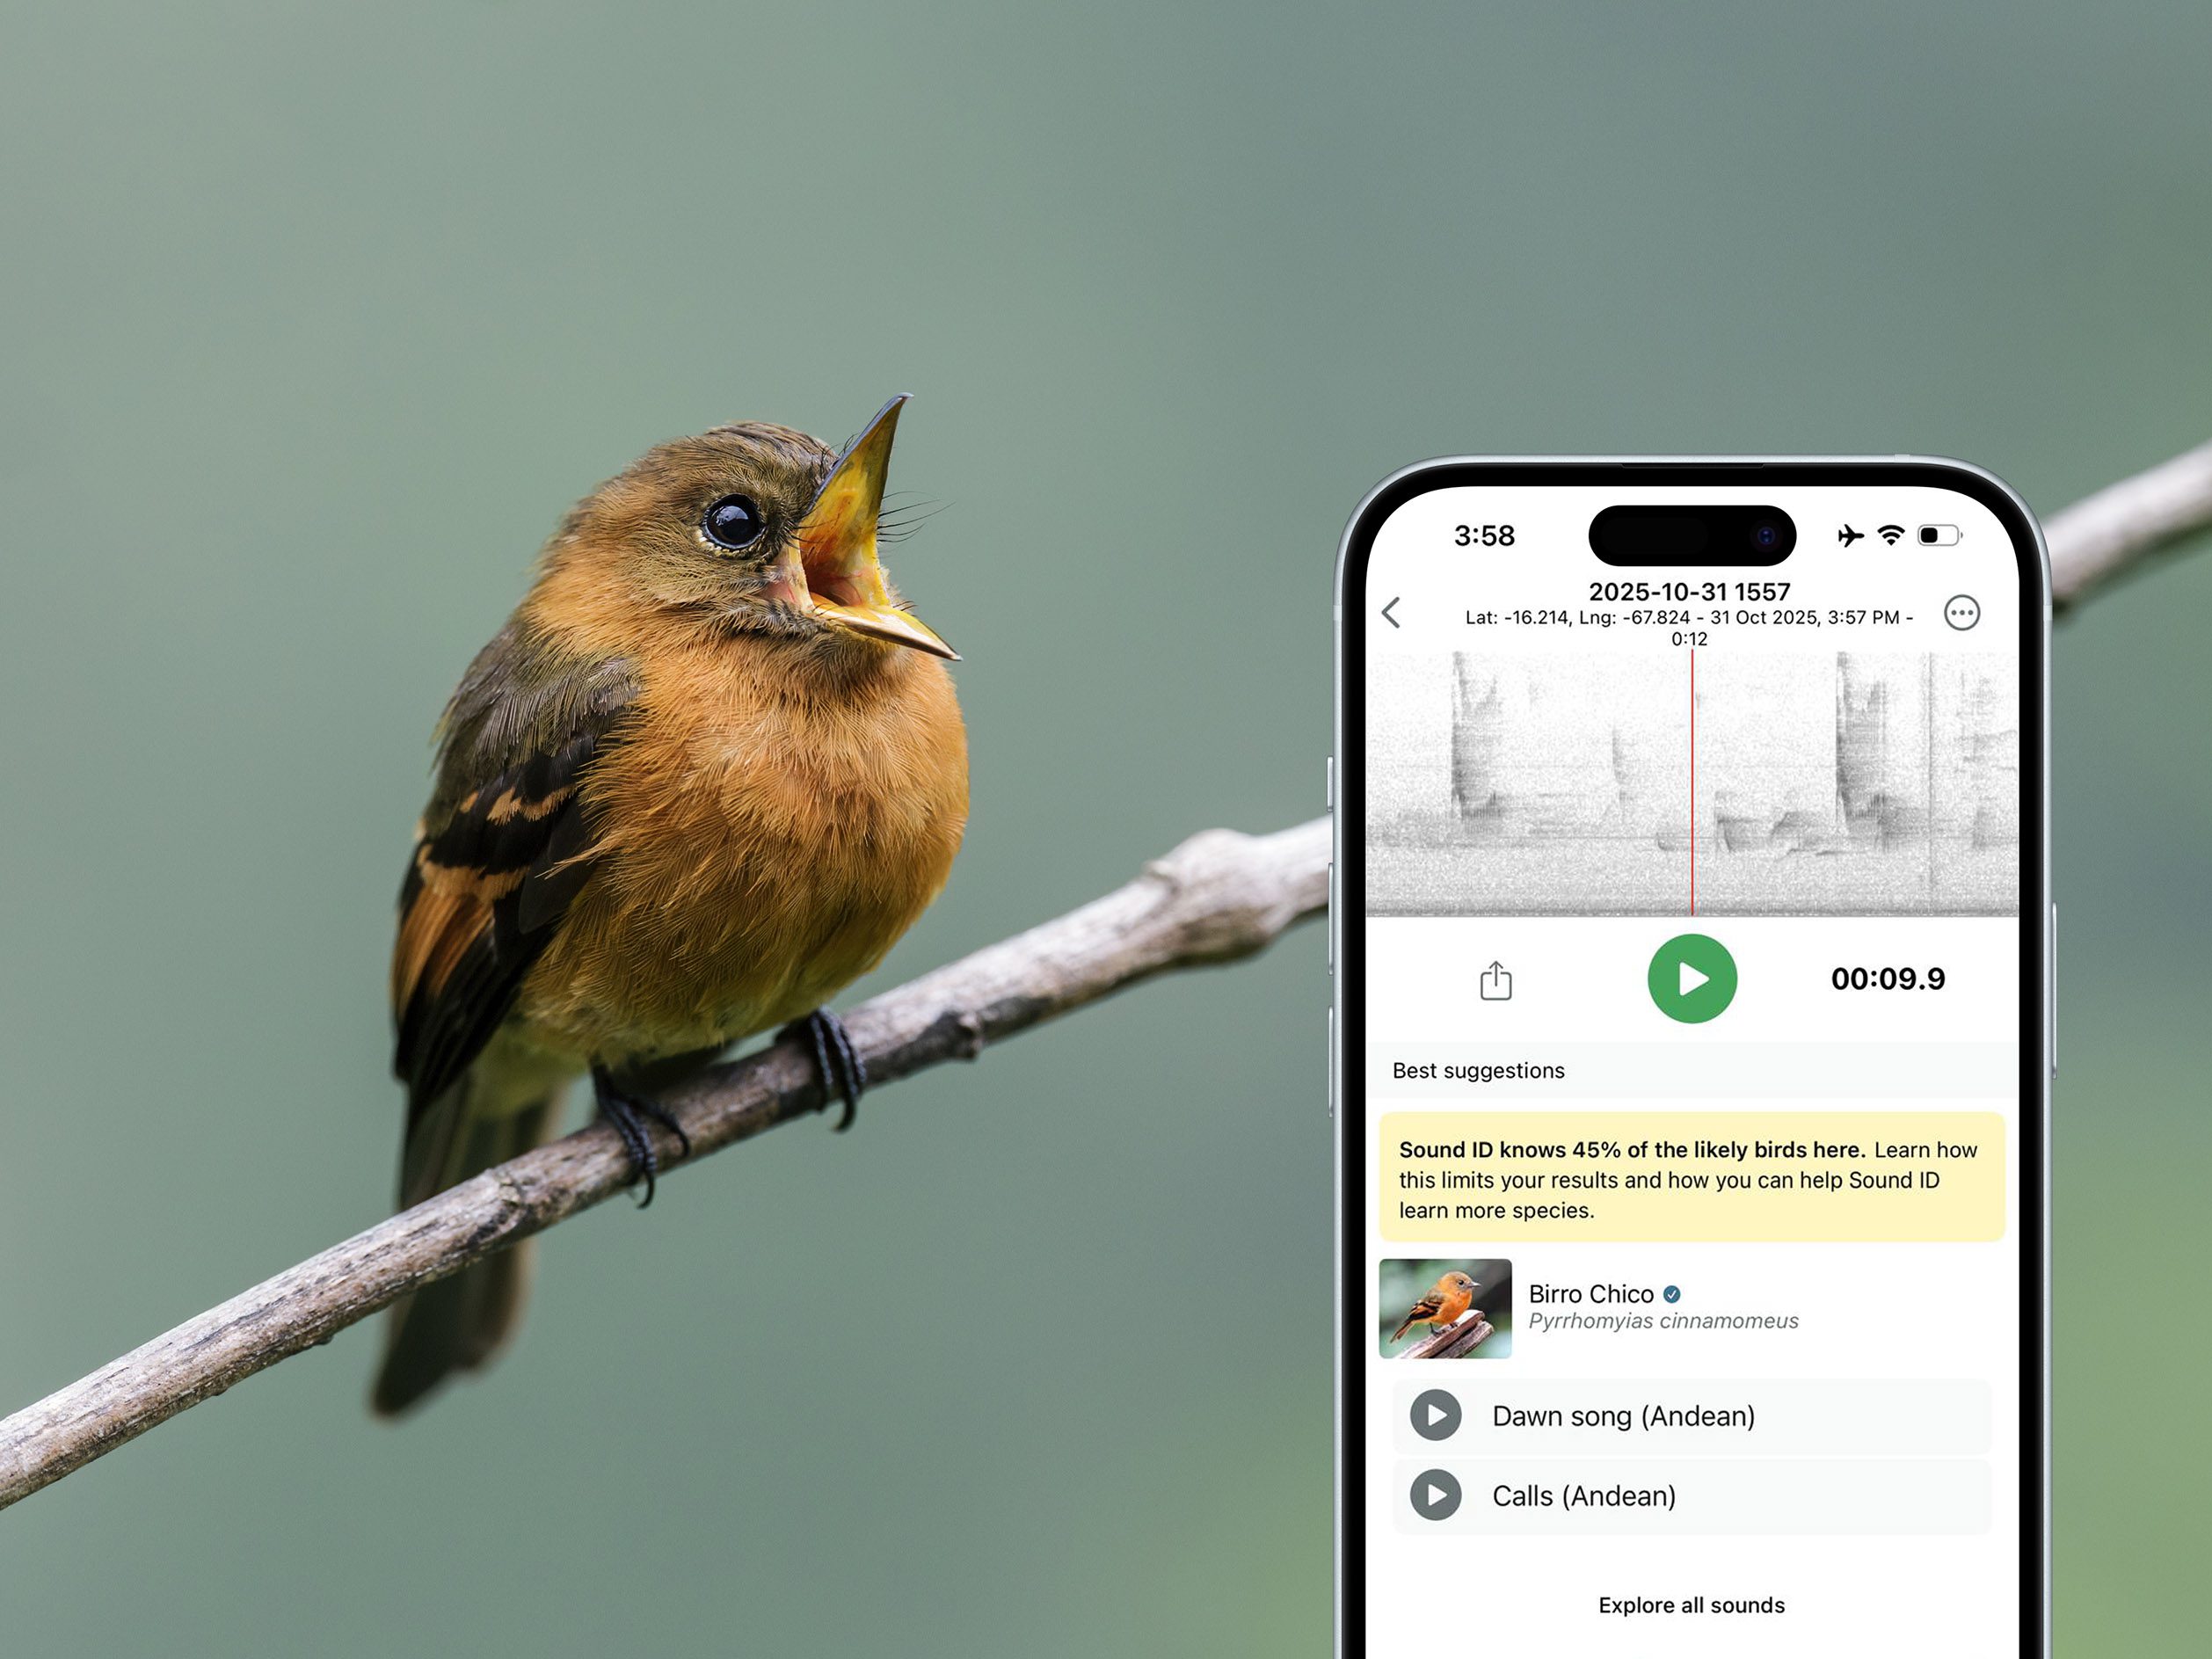
💡Use Merlin to record
The free app Merlin Bird ID is your best ally to get started:
- You can see the spectrogram in real time, which helps you follow the song while recording.
- It records in .WAV and all other settings are already optimized.
- It can identify many species in real time!
3️⃣ Focus on one bird
It may sound obvious, but it’s important to focus on a target bird and not get distracted by other species singing (unless you want to make a soundscape recording, of course).
4️⃣ Get closer and aim well
Distance makes all the difference: the closer you are to your target bird (without disturbing it), the cleaner the song will sound. Sound waves will reach the microphone with more energy, amplifying the bird’s song.
- If you’re far away, make a recording anyway, and then try to move closer.
- Don’t cover the phone’s microphone.
- Make sure the microphone is pointing directly at the singing bird.
5️⃣ Try to control noise and be patient
Noise sources are our “karma.” Try to keep noise (traffic, wind, water) behind you or to the side. Your breathing, footsteps, or clothes brushing can also be recorded. Stay still and avoid talking.
- Wearing quiet clothing (wool, cotton, fleece) helps a lot.
- Ask your companions to remain quiet as well.
- Be patient: it’s not always possible to get a perfect recording.
6️⃣ Record a bit longer
Don’t stop recording too soon. Birds often vary their song or give different calls over time. A 1–2 minute recording can be much more useful for scientific and educational purposes than a short one, as it captures a more complete vocal repertoire.
7️⃣ Make a brief vocal annoucement
After finishing the recording (before stopping), you can quietly say the species (if you know it), the date, the place, and any relevant details. These notes are very useful for organizing your files and for anyone using your recording later.
Done! You’ve got your recording!